How to use the Guide
How to use the Guide
This page provides information to assist in using this Guide most effectively. It explains how the Guide is structured, the conventions used within the Guide and how it can be used to support SSAs in practice.
On this page:
Guide structure
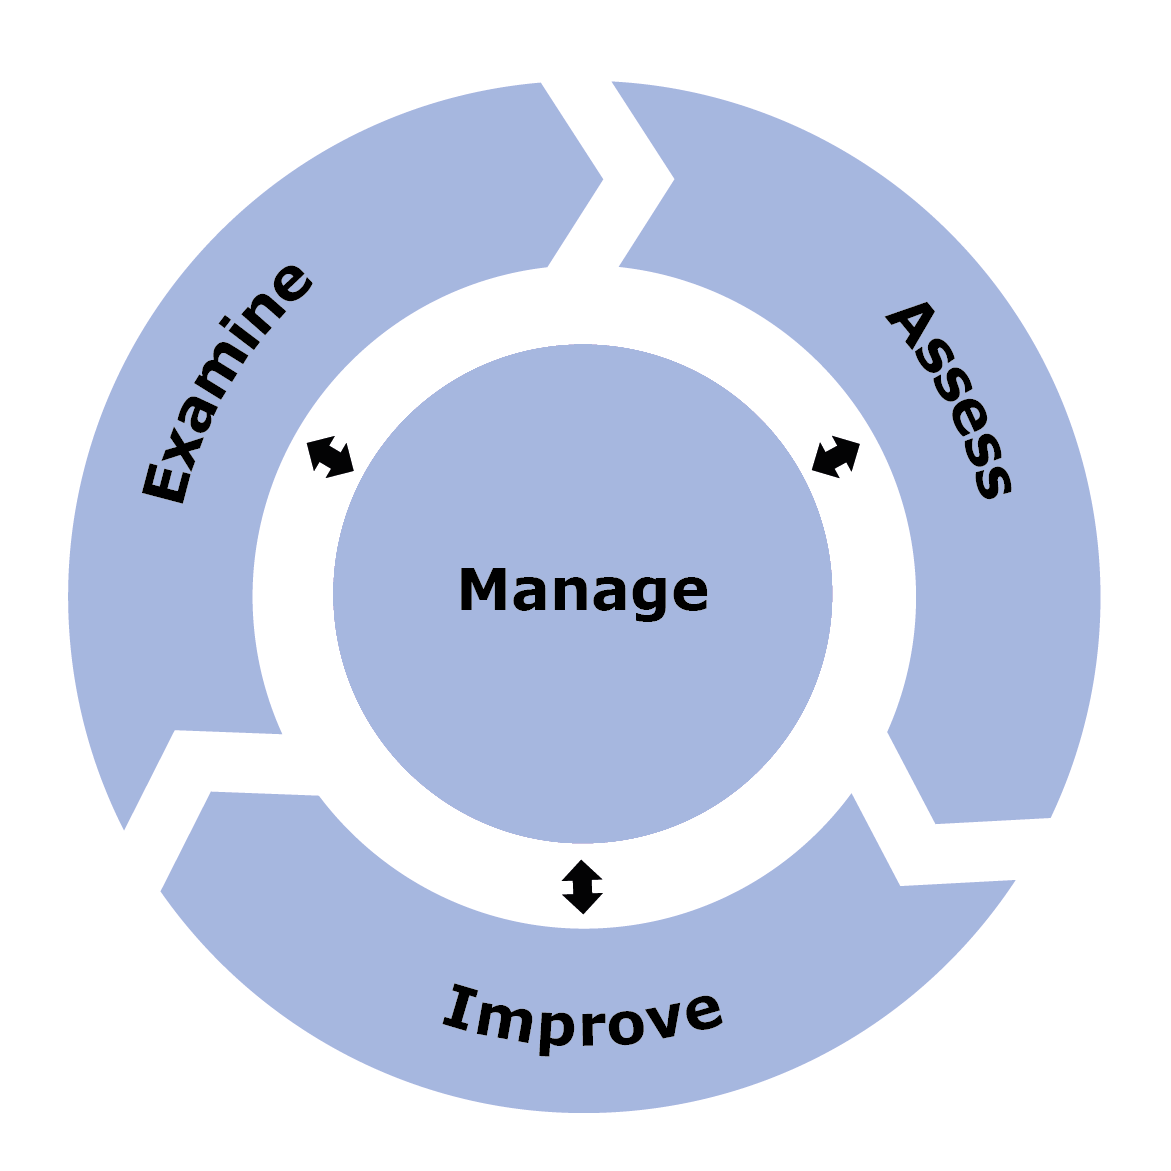
The guide is structured according to the phases in the SSA process, shown opposite. Each phase is described in a separate section: Examine, Assess, Improve and Manage.
Each of these sections contains several pages: one page for each of the activities within that phase. For example, the Assess section contains pages for Identify risk, Analyse risk, and Evaluate risk. These sections can be accessed through the menu on the left-hand side of the website.
The page for an activity (such as Identify risk) is then divided vertically into sub-sections, which discuss different aspects of that activity and explain how to carry them out.
The structure of the SSA process
Examples in the guide
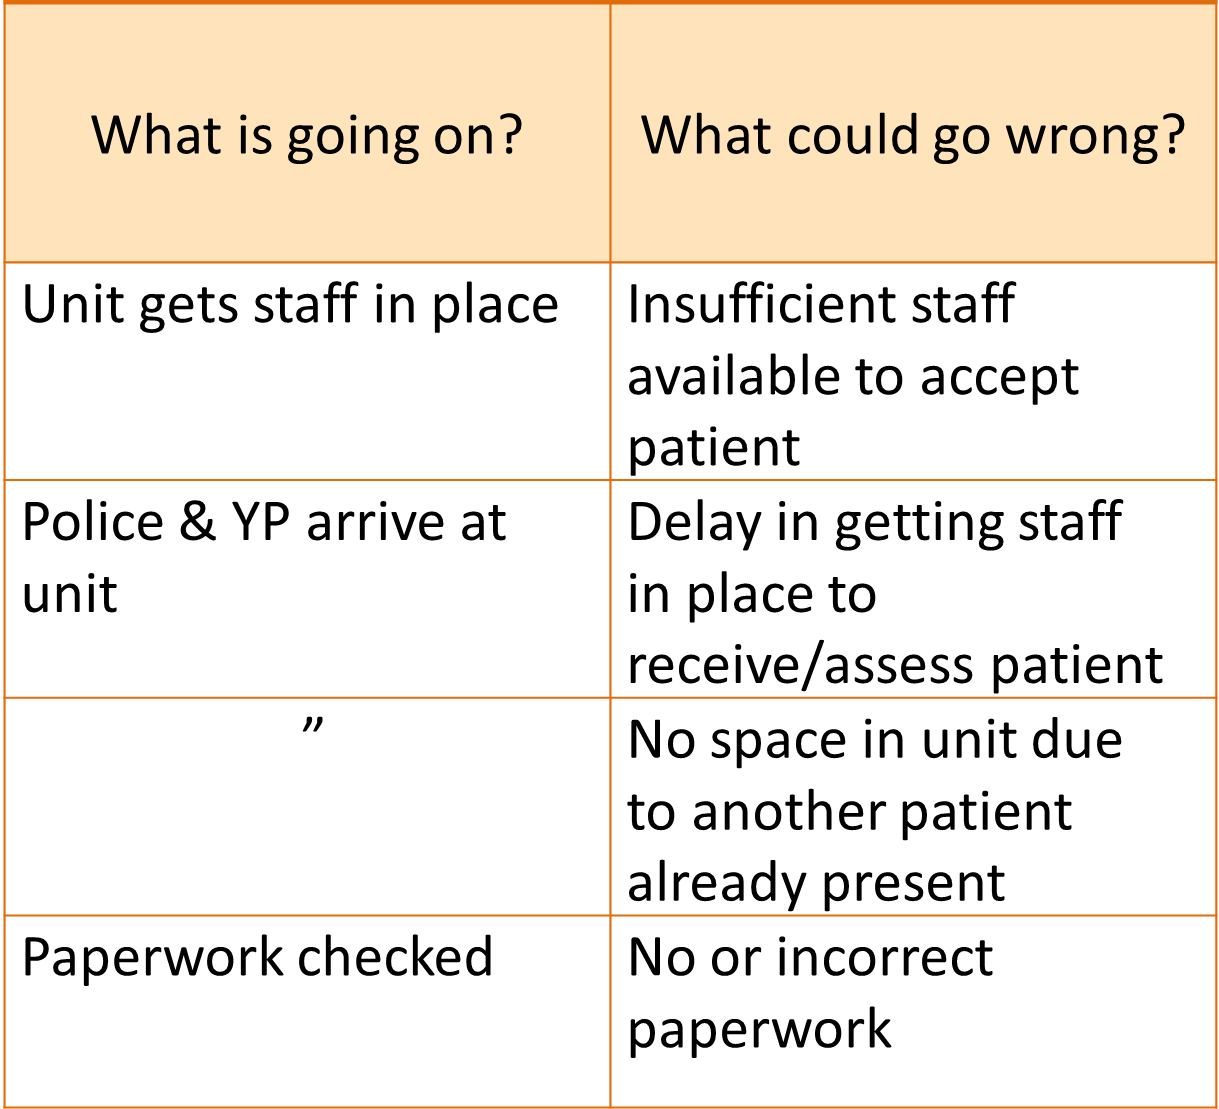
The guide is illustrated throughout with examples. Most of these are taken from the Section 136 case study. Larger versions of these images can be seen if you click on them. You can then use the browser's back button to return to the original page. More detail about the case study can be found on the Section 136 page, and a full pdf version of the assessment form from this case study can be downloaded from the Resources page.
An example used in the guide to illustrate aspects of the Identify risk activity
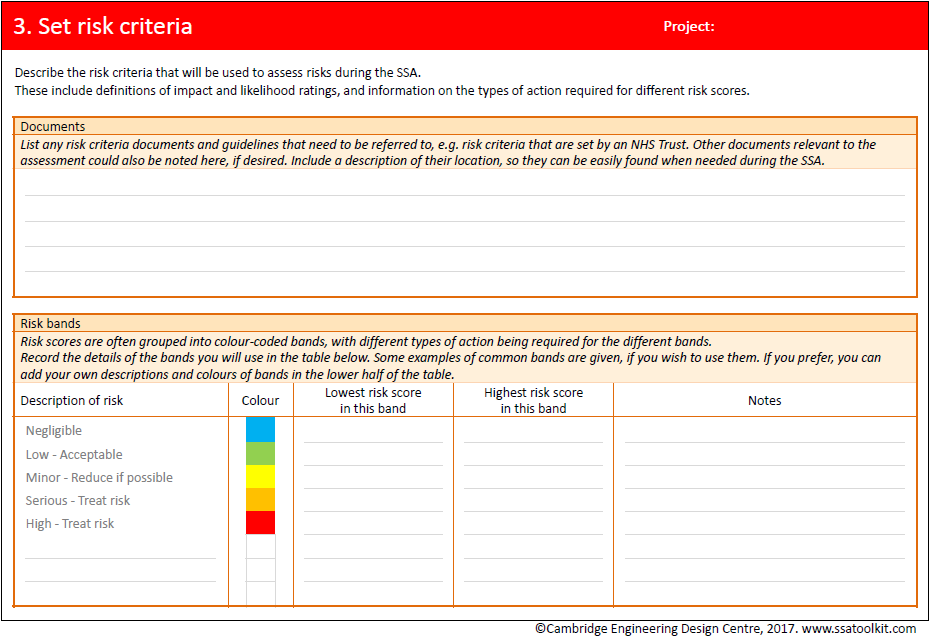
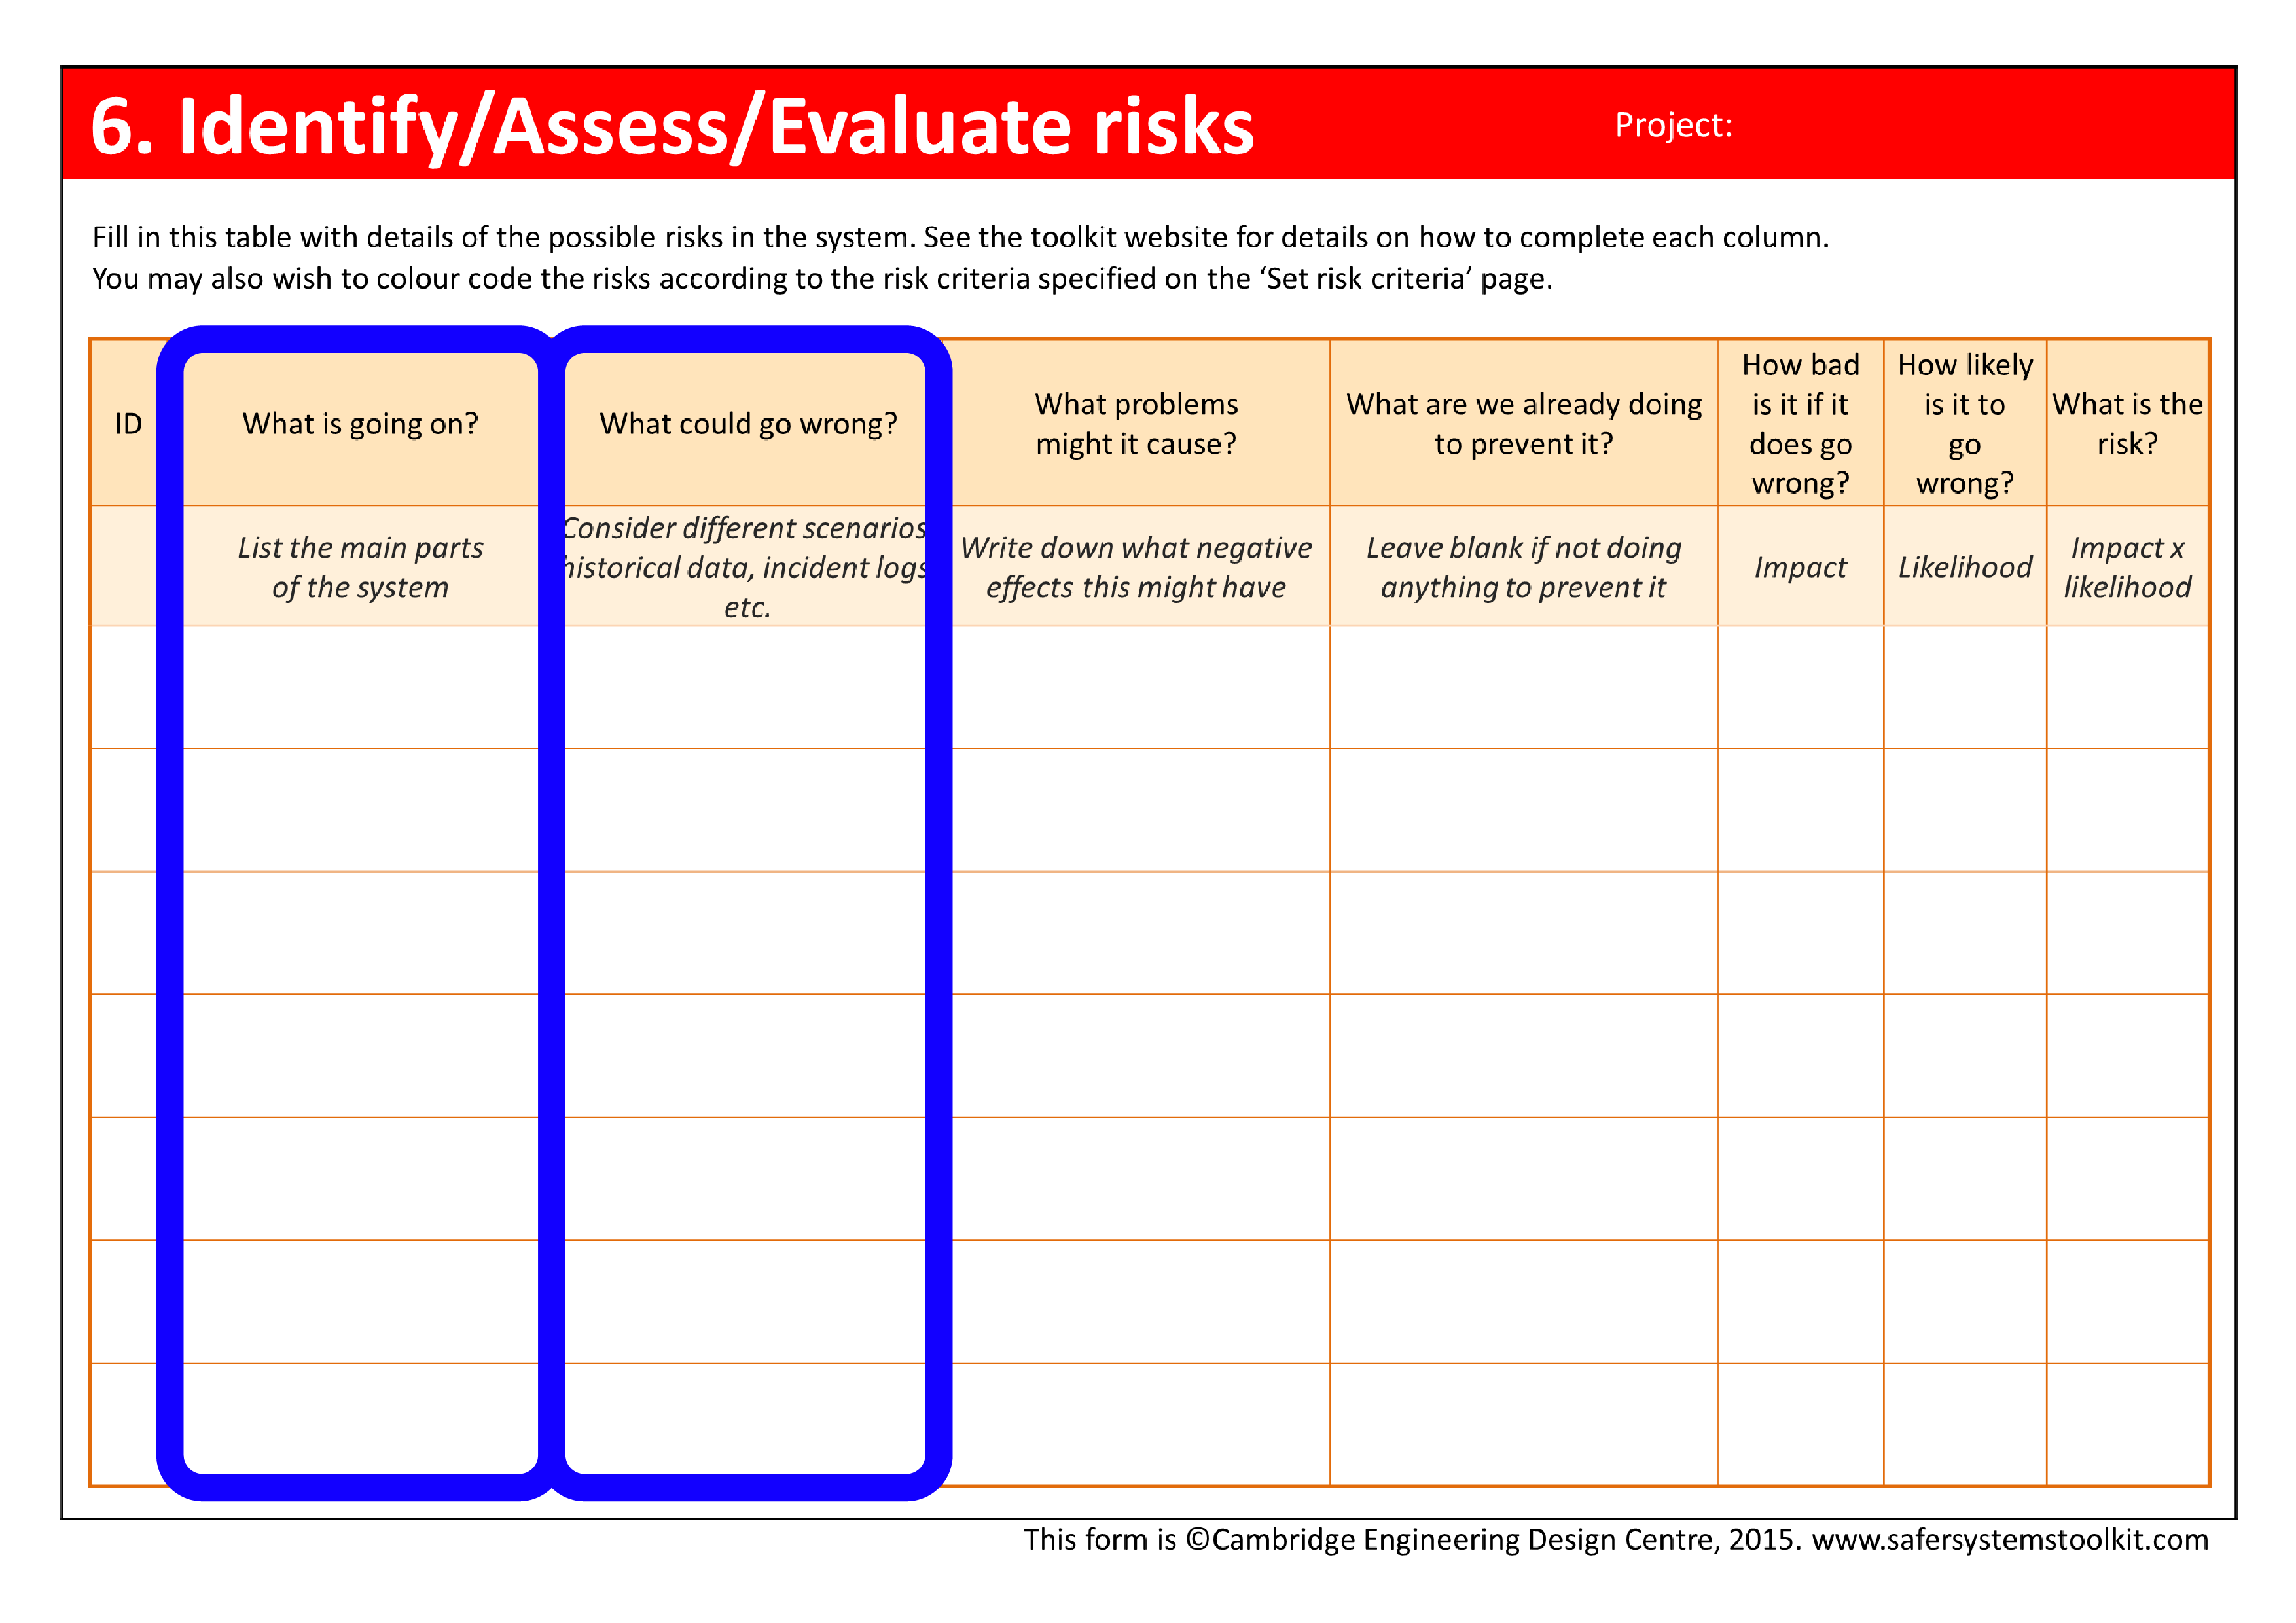
The guide refers throughout to the SSA Assessment Form which is available from the Resources section. This form has been designed to capture the relevant information for each activity in the SSA process. There is usually one page for each activity. Exceptions are the activities within the Assess phase, which share a single page.
The SSA Assessment Form helps to capture the relevant information for each activity in an SSA.
Information on ‘Putting it into practice’
Throughout the Guide, there are several boxes entitled ‘Putting it into practice’ like the one below. These give detailed instructions for how to use the SSA Assessment Form to support the task at hand. These instructions refer to pages and boxes in this form. In the screen version of the form, pages can be navigated between by clicking on their names in the diagram on the ‘Home’ page, or by choosing from the tabs at the bottom of the page. The boxes refer to rectangles within the form where text and data can be entered.